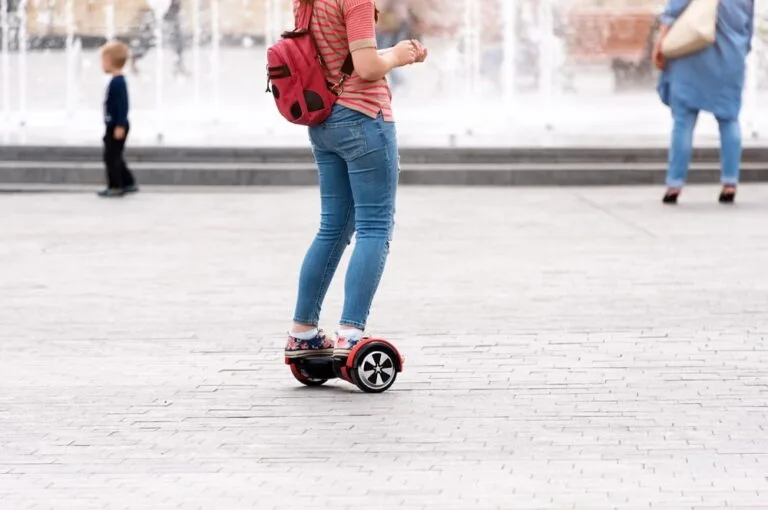
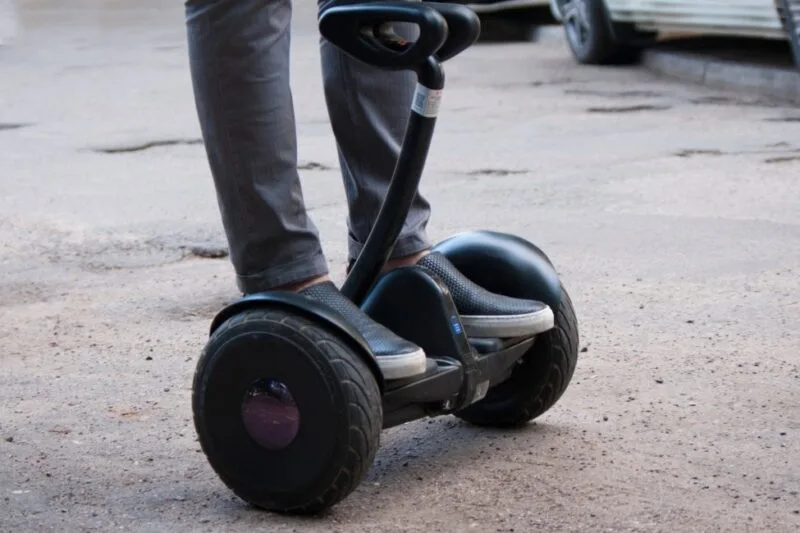
In this guide, we teach you how to reset your hoverboard to re-calibrate the gyroscopes.
Hoverboards need to stay upright, or it would be impossible to ride them. The secret is the gyroscope, which collects data from the wheel’s tilt sensors and sends it off to the logic board. This keeps the board upright and balanced all the time while you ride.
If the gyroscope isn’t calibrated correctly, it won’t be able to send accurate data to the logic board, so the hoverboard won’t function properly. It isn’t getting the correct data, so its response will be off. Part of hoverboard maintenance is resetting this gyroscope or calibrating it. Here’s what you need to know.
When Should Calibrate My Hoverboard?
There are a few scenarios when calibrating your hoverboard could fix its issues. If it turns to one side slower than the other, doesn’t feel even, or red lights are flashing and you can’t use the board, calibrating it could resolve the problem. If it doesn’t, you might need to replace the gyroscope.
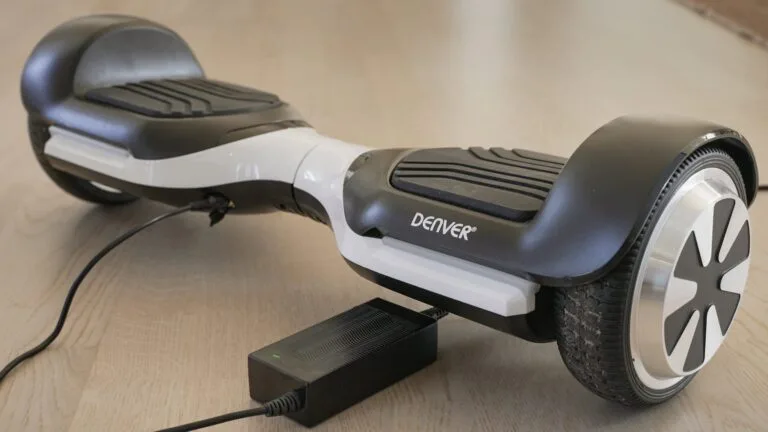
You can usually find replacement parts on the website for your hoverboard’s brand. Other parts you can buy include wheels, frames, shells, bumpers, chargers, and so on. If the problem is with balance, odds are it’s a gyroscope problem, and calibration should be the first thing you try.
Also read: How does a hoverboard work?
Calibrating Your Hoverboard (Any Brand)
If your hoverboard isn’t balancing or functioning quite right, it’s time to calibrate it. Here are the steps:
- Make sure the hoverboard is turned off completely.
You want to use the power button that’s on the hoverboard itself. If you have a remote, turning the hoverboard off that way isn’t enough; you need to push the button on the board. - Make sure the hoverboard is on a flat, level surface.
That’s the surface your board is being calibrated for, so you want both sides even with each other. - Now, push the power button on the board for five seconds, until it beeps.
- The lights on the board will flash.
- Wait 30 seconds.
The board is calibrating to the surface, so don’t move it or push any buttons. - Now, push the power button again to power the board off and lock in the calibration.
- That’s it!
Your board is now calibrated.
Before calibrating your specific hoverboard, check out the board’s user manual. The instructions will most likely be the same as what we wrote above, but it’s always a good idea just to double-check before trying anything. You can find user manuals online if you don’t have a physical copy.
We test every ride
Independent reviews, buying advice and the real test data behind them. Straight to your inbox.
Join 2,000+ riders
Calibrating With A Smartphone App
If you have a Bluetooth hoverboard, you calibrate it the same way, but you should avoid resetting it unless absolutely necessary. The process can fry the Bluetooth chip, even if you did it correctly. It’s just part of the risk of Bluetooth hoverboards.
That being said, you might be able to calibrate your board using the mobile app, if there is one. Here’s how:
- Install the hoverboard’s app on your smartphone.
- Make sure the board is connected to the app.
- Put the board on a flat, even surface.
- Go to the app and find the “calibrate the unit” section.
- Instructions will pop up.
You want to follow them very closely because incorrectly calibrating your board can kill the Bluetooth chip. Like we said before, even doing it correctly can fry the chip, but if the hoverboard isn’t working, you don’t have very many options besides calibration.
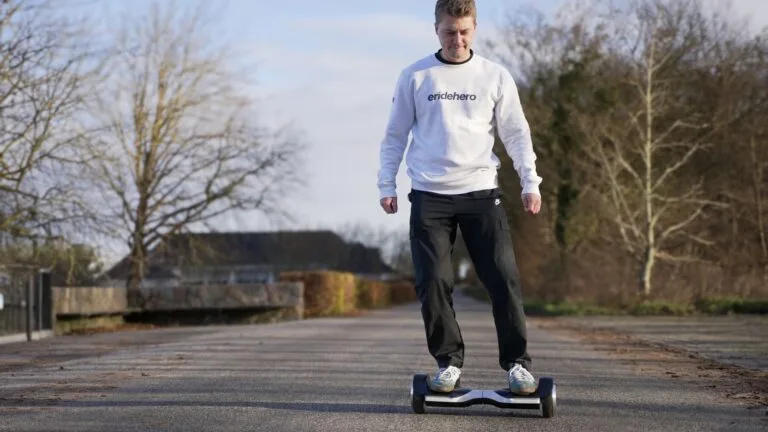
Testing It Out
Once you’ve calibrated it, it’s time to test the hoverboard. Turn it on normally. Assuming there are no red flashing lights, get on and go for a ride on an even surface. Make sure you’re wearing a helmet and other safety gear.
You don’t want to find out the board isn’t fixed and go flying off. Make turns to see if both right and left move at the same speeds. Go in a circle. Ride up an incline, slowly, to make sure the board stays upright. If everything works fine, you know that calibration worked.
If it’s still acting weird, it could be time to replace the gyroscope. If you aren’t confident about the cause, you could always get an expert to check it out, though they will charge a service fee. If your board was really pricey, it’s probably worth it to get it fixed to ride smoothly again.
Also read: Best Hoverboards 2026