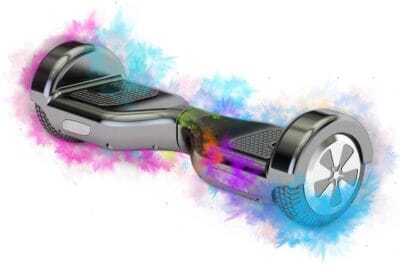
Today we share 3 cheap and simple DIY tips to help you customize a hoverboard to match your personal style.
Lots of hoverboard owners like to spice up the look of their ride with some unique and personal twists. Today we share with you a few simple tips and tricks to customize a hoverboard so it stands out in the flock.
Introduction
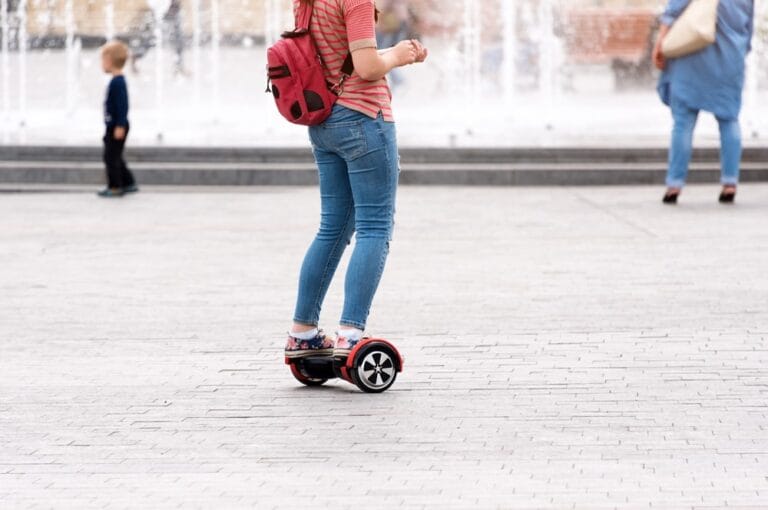
A lot of the hoverboards available on today’s market look basic or ‘dull.’ For kids with a prime imagination, the basic designs may not satisfy them. Getting to customize their hoverboard riding experience makes for a fun day and lots of cool experiences onwards.
Although your kid may not have the fastest hoverboard in the world, everything may feel faster all of a sudden when you spice up the hoverboard a little visually.
We test every ride
Independent reviews, buying advice and the real test data behind them. Straight to your inbox.
Join 2,000+ riders
Hoverboard Skins & Stickers
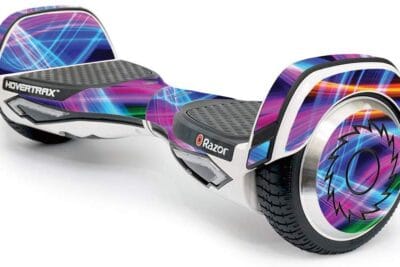
Commonly referred to as hoverboard skins, stickers or decals, these cool-looking pieces are ready to get put on your self-balancing scooter right away.
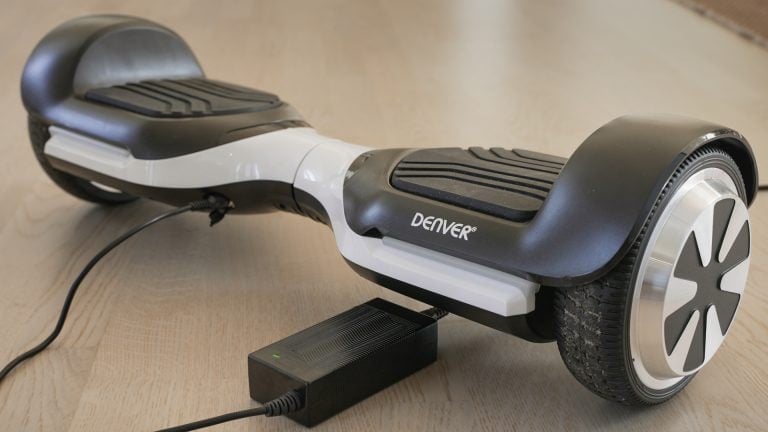
Hoverboard skins come in all kinds of sizes, shapes, and variants. You can get anything from galaxy prints, camouflage decals to simple solid colors. You can get clean layouts or vibrant and fun designs for your kids.
Amazon is probably the best place for exploring the hundreds of different hoverboard skins available. There are other websites with hoverboard skins, however. It’s only a Google search away.
You need to find a skin that is compatible with your hoverboard. Not all hoverboards are the same. Make sure you check that what you get fits your board. You may contact the seller if you’re unsure that a particular decal will fit.
DIY Customization
Instead of a solution that is ready out-of-the-box, you may also consider creating everything from scratch. This gives you full control and lets you have a fun day with your kid, unleashing your creative side.
The level of detail is, of course, fully up to you. Whether you wanna go ahead and attach some simple stickers from the local store or create a full design with advanced patterns, it should all be possible on a budget.
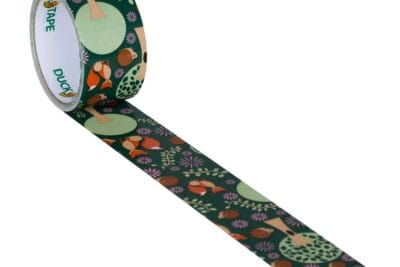
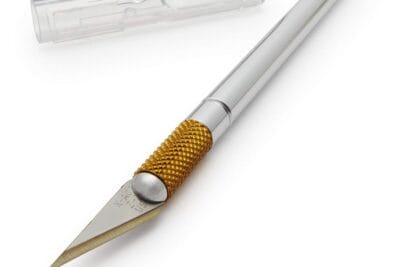
An X-Acto knife, and maybe some designer duct tape with interesting print will take you a long way.
Carefully wrap your hoverboard using the designer duct tape in the areas you want to be covered and follow it up by cutting excess tape off using our X-Acto knife.
The more time you take, the better the result will be. Also, don’t worry about covering footpads, charging ports or LED lights at this point. All this you will carefully cut off later using the knife.
It’s possible that some of the duct tape will start to peel eventually but then you can simply peel off the entire area and replace it. Once you get the hang of it, it’ll be a quick fix.
Place stickers wherever you see fit. A cool place that is often overlooked could be the wheels.
Depending on the tape, you may wanna watch out for overlaps in the design so things align properly. For some designs, this may be necessary to get the best possible end result.
Painting your Hoverboard
An entirely different thing you may do is to paint your hoverboard. This customization will most likely be irreversible so you should make an effort to do things right the first time around.
Ideally, you should use spray paint for this. Get out your desired spray paint color and prepare it for use. Before spraying, you must tape over all the areas you don’t wish to paint (just like you do when painting walls). Usually, this would be the footpads, LEDs, wheels and any buttons/connectivity ports.
Once everything is taped up, you may start spraying paint on your hoverboard. Whether you wanna do one color everywhere or mix colors in different areas is up to you.
Let the spray paint dry. Once dry, go for a second layer. Then, finally, finish off with a third layer. This should be enough to keep the hoverboard fully covered even if you scratch it at any point in the future.
Once everything is dried up, it’s time to remove the tape and give your hoverboard a go with its new, reinvented design.
Conclusion
These were three simple and fun ways in which you can customize your hoverboard to get a look that you love.
All three methods are quite cheap so which is right for you depends on the look you want and the time you want to spend on customizing it.
Enjoy!